
Direct fire brewing system – Pros and Cons
11/16/2021
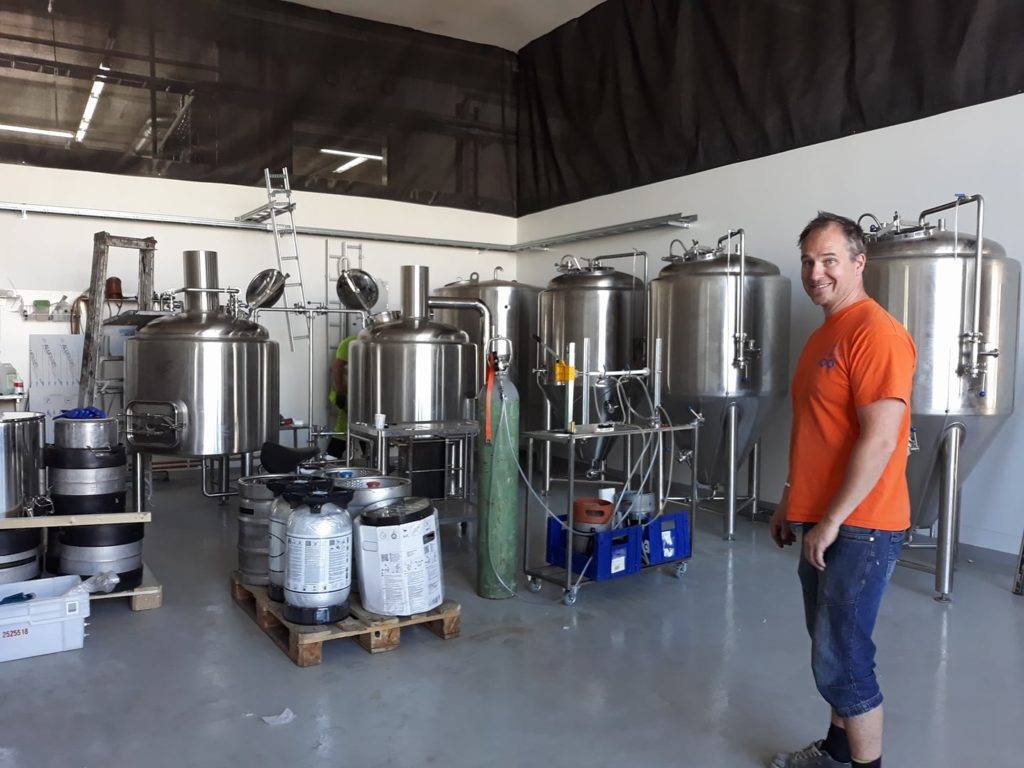
Microbrewery equipment is it safe for you?
11/09/2021
Electric brewing equipment — Right for Me?
Today, we’re going to deep dive into Electric brewing equipment , then we will look at direct fire and steam, bringing it all together with a round-up article and drawing some conclusions. It should make for a nice short series, and hopefully, be helpful to you.
Brewing with Electric Pros and Cons – What Is Electric brewing equipment.
When brewing with electric, the heat is applied internally rather than externally (as with direct fire or steam jacket). The heating comes from electric elements which are housed in stainless steel sheathes inserted in your Electric craft beer brewing equipment.
The main vessels in a brewhouse housing elements are the brew kettle and hot liquor tank (HLT). You can have electric heating for your mash tun too. However, that’s a little trickier requiring its own section.
Since, the elements are immersed in the liquid, virtually all of the energy applied to the elements, is transferred to heating your wort or water. Depending on the size of the brewhouse, you’ll usually have two to four elements per tank.
You can control the heating one of two ways:
- Have an on/off switches for each element, turning them on and off when needed
- Have a dedicated control panel to regulate percentage of output for each element for greater control or have set point for desired temperature.

Mashing with Electric Elements – Single Infusion
When brewing with electric, the cheapest option is, not having any form of heating for the mash tun. I’ve worked in several brewpubs configured this way. I’ve made good beer (well that’s what the patrons told me) with a single infusion mash.
With a single infusion mash you set the desired temperature, to “mash in” at. You then mash in at this temperature, and because the mash tun is fully insulated, it’ll not drop in too much in temperature during the mash stand (60 to 90 minutes).
Typically, the water (strike water) you mix with the malt is 10-15°F (5.5-8.3°C) above your desired mash temperature. So, if you want to mash in at 65°C, your strike water will be at 70-74°C. With modern modified malts, you’ll most likely get the gums and proteins needed with a single step infusion mash.
No, you can’t mash out, meaning raise the temperature after conversion of starch to sugars. However, as you’ll sparge with hotter water, around 78°C (172.5°F), it will raise the temperature of the grain bed slowly. So, your lauter run and efficiencies shouldn’t be affected too much.
Mashing with Electric Elements – Step Mashing
If you want to step mash however, then you’ll need to find a way to heat the mash tun. It’s possible to heat a mash with electric and there are two popular options:
HERMS (Heat Exchange Recirculating Mash Systems)
If you employ are HERMS system, the wort is circulated through a coil inside your HLT, with the temperature of the mash regulated by temperature of the water in the tank.
One advantage of this system is, it’s impossible to heat the mash above the temperature of the HLT. Thus, reducing the risk of overheating your mash and extracting bitter tannins.

RIMS (Recirculating Infusion Mash Systems)
In a RIMS system, wort is recirculated by a pump over a heating element in a tube. The elements heat the wort, to raise the temperature to the desired set point when step mashing.
The advantage of this system is you don’t need to make adjustments to your HLT, to heat your mash. However, one disadvantage of RIMS is it’s not as efficient at heating your mash as HERMS.
Brewing with Electric Pros and Cons – Mash Temperature Control
Whatever, electric heating system you employ for your mash tun, having precision control is recommended.
A typical control system includes temperature probs inserted into thermo-wells in a tank, proportional integral derivative controllers (PID’s) to set to the desired temperature and solid-state relays (SSR’s) to control the percentage output of each element.
Also, on your brewhouse control panel, it’s advisable to have variable speed control for your wort pump too. Plus, with a HERMS system, use your HLT pump, to recirculate the water in your tank to avoid stratification.
Brewing with Electric Pros and Cons – The Kettle
Speaking of temperature control, you’ll need it for your brew kettle too. It’ll help avoid boil overs and allows you better control of the evaporation rate. Evaporation rate is typically 5 to 10 percent an hour when boiling your wort in the kettle.
If you know your input energy needed to reach boil, and achieve your desired evaporation rate, you can program the control panel to reach your targets batch after batch.
Electric brewing equipment wattage
The heat applied to the wort in the kettle, is determined by the overall wattage of your elements. The standard elements used in brewing are between 5,500 and 10,00 watts.
The type of elements used are “ultra-low density”, so as not to “scorch” the wort. So, the elements are configured to produce less heat per square inch.
Depending on your brew-length you can use between one and six elements in your kettle. As a guide you need around 40-45 watts per litre of beer in your kettle to get good heating.
Brewing with Electric Pros and Cons – Start-up Costs
Electric and direct fire brewhouses, are around the same price for the tanks. Steam is generally more expensive, requiring extra jacketing plus steam generator costs.
Electrical elements are less expensive than most direct fire burners and obviously less expensive than a steam boiler. The control panels for an electric brewhouse vary in costs depending on your needs
If you choose a simple system, with LCD digital readouts and manual push button controls, your start up costs will be significantly cheaper than having a programmable touch screen.
Total costs when using electric for your control panel and venting will be similar to those of burner and boiler, plus venting and piping.
Brewing with Electric Pros and Cons – Conclusions
- Many people opt for electric heating because upfronts costs are cheaper. Plus, it’s easier to get to code, abiding by regulations set by your local authority. So, the path to opening is easier. As a heating source it’s efficient, with the energy use going directly to heat your liquids unlike direct fire.
- The disadvantages are; in most regions, electric is expensive and you might pay even more at peak times. Furthermore, if you’ve a larger brewhouse, it might not be viable to use electric as your building can’t support the electric demand needed.
- However, if you’re on the small side, say 3.5 barrels (around 400 litres) electric might be best solution, as most buildings can support the needs for such a brewhouse.
- Furthermore, if you’re brewpub, where space might be an issue, electric take up less space as there’s no boiler or firebox too.
- However, if your brewery is above 10 barrels (around 1,200 litres), electric generally isn’t an option. As the power needed to be drawn is too much for the building to handle.
I hope you enjoyed our article “Brewing with electric pros and cons”. If you’ve any feedback, comments and/or experiences you want to share, please feel free to comment below or message me.